Try These Fun Winter Crafts You Can Make With the Kids
Create Snowfalkes, Snowmen & Decorative Mittens
Need a fun, easy project to do with the kids while you're inside warming up? On days that are just too cold and dreadful to go outside, fire up the wood stove, make some hot chocolate, and try out these fun winter crafts.

1) Cotton Ball Snowman
All you need are cotton balls, glue, some basic craft materials, and a lot of imagination. Help your child draw three circles on a piece of construction paper, and then fill them in together with cotton balls. Give your snowman accessories, such as a cut-out paper hat or googly eyes.
2) Snowflake Swabs
First, dig out some spare cotton ear swabs from your bathroom. Once you've collected some, arrange them together to form a unique snowflake design. Glue the cotton swabs in the shape you want them to be in. Finally, you and your children can add glitter, paint, or whatever you think would help build a truly special snowflake.
When the snowflakes are done, hang them with string in your window so everyone can see them and enjoy this winter.
3) Construction Paper Mittens
Fold a piece of construction paper in half and cut out the shape of a mitten along the fold, so you can open the mittens up like a card. Have your kids paint on one side of the mitten, then close the "card" and press down to transfer the image to the other side. Open the mittens back up and you'll have two perfectly symmetrical mittens to hang and enjoy.
4) Styrofoam Snowman
Use hot glue or toothpicks to connect three styrofoam balls, and then create the face using markers, buttons, paint, or any other crafting supplies you have on hand. Use odds and ends lying around the house to make a cute styrofoam snowman.
5) How to Make a Paper Snowflake
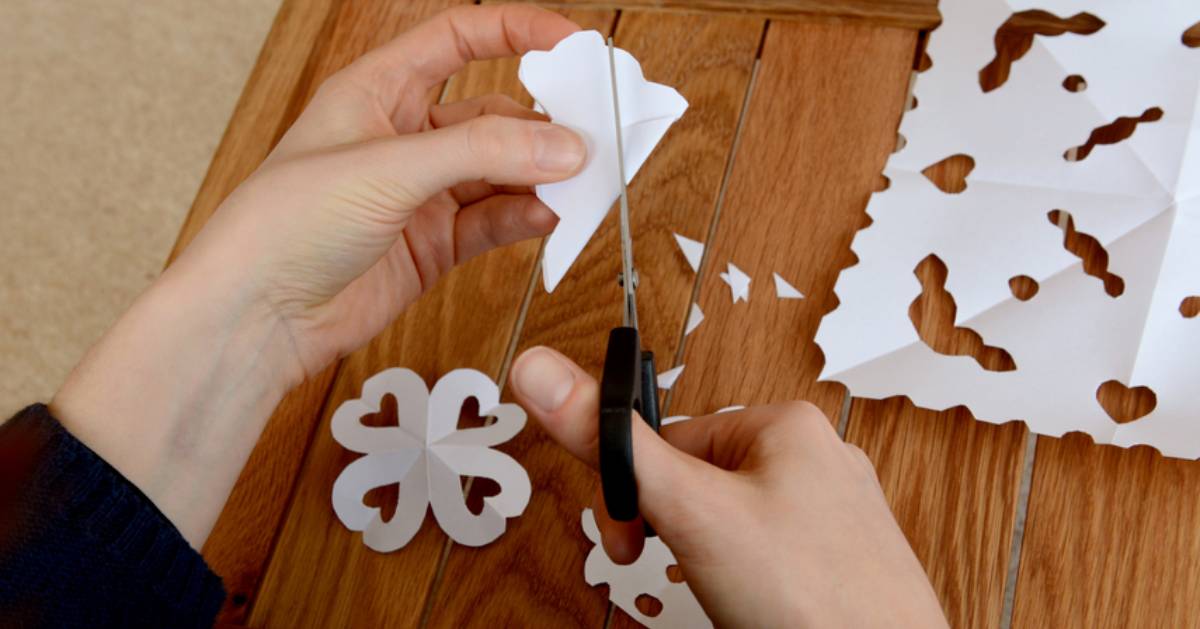
Start by folding a letter-size sheet of paper in half three times. You should be left with a small paper rectangle. Take out a pair of scissors and begin cutting along the folds and edges of the paper. Cut out circular shapes, triangular shapes, rectangles, and various other cuts. Encourage your child to come up with creative and interesting shapes. Make sure they don't completely cut away the edges of the fold or the snowflake will fall apart.
Unfold the piece of paper one time. You should begin to see the patterns that are being created with your cuts. Make new patterns with the paper by cutting a few more shapes. This will add more details to your snowflake. Again, make sure your child isn't cutting away at the far ends of the folded edges.
Unfold the paper one more time and repeat the process. Make smaller cuts on the sides of the snowflake. As you unfold, new patterns will begin to emerge. Unfold the paper one last time and complete the shape by creating points on the ends of the snowflake and detailed cuts along the edges.